
INTRODUCTION
Dangerous and intelligent, the Skaven are the closest thing in the Age of Sigmar to Nazis in rat form, and their totem, a rune symbolising the Great Horned Rat has more than a passing swastika vibe. Skaven proclaim their allegiance to a clan by clawing runic symbols either into their shields, adding them into their swords or even themselves, either by blade or by branding.
Skaven battle tactics are brutal. Vast number of their troops will be expendable in battle. And those troops are the Clanrats. Lower ranks, such as the clanrats and slaves are usually sent in advance to wear down the enemy and as a result, are typically slaughtered, allowing a Skaven Army to soak up the capital resources of the enemy, while higher ranking Skaven warriors hold back until they’re ready to fight.
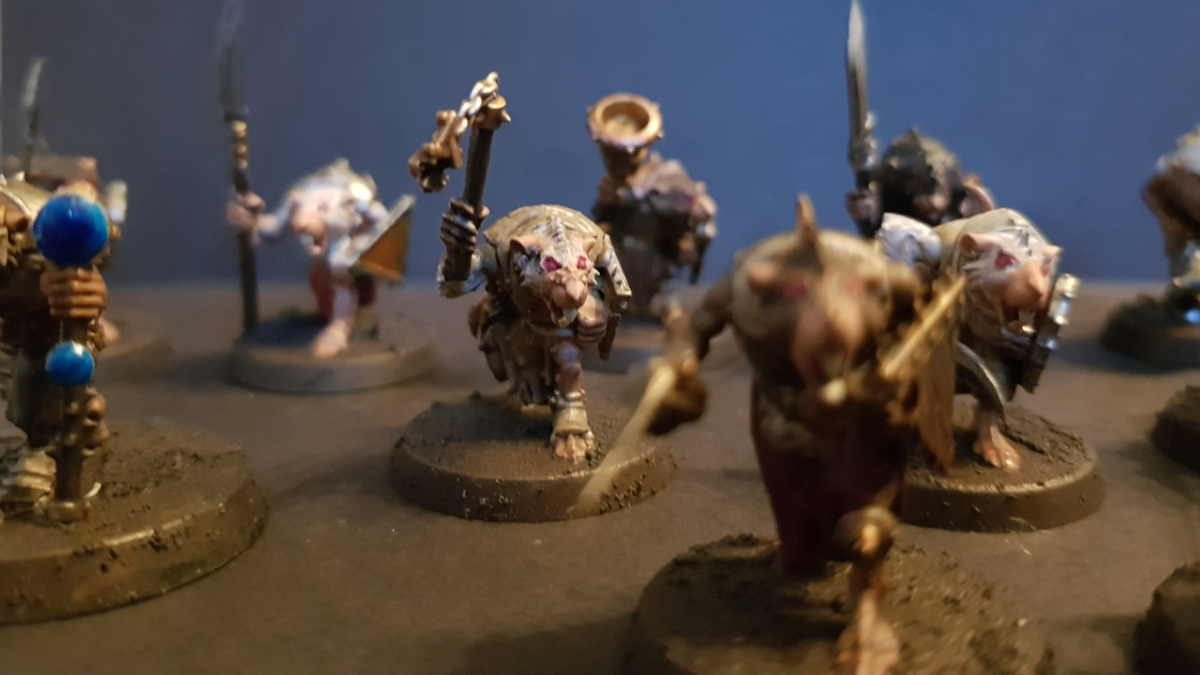
In this build, I opted in this build to make my Skaven warriors look as rat-like as possible. Partly to make them stand out from each other, partly for practice, and to make the clan stand out visually.
Built during the COVID lockdown, this army has been made out of two sets of Clanrats, a Warp Lightning Cannon, one Warlock Bombardier, a Grey Seer, and a Warlord. As luck would have it, the kit for the Skaven Stormvermin arrived literally the day before I finished filming. Somewhat annoying but there you go.
So, what exactly are the Skaven? They are rat like humanoids that live under the Warhammer World in underground cities, known as the Under Empire, in a citadel known as Skavenblight. Also known as Ratkin or Children of the Horned Rat, the Skaven are horrible little critters with a violent history of anarchy and belligerence, hated by the majority of races on the World.
Divided into clans, the Skaven also fight each other. They are ruled by the Council of Thirteen, twelve seats of which are held by each of the clan chiefs, the thirteenth being reserved for the mythical Great Horned Rat himself.
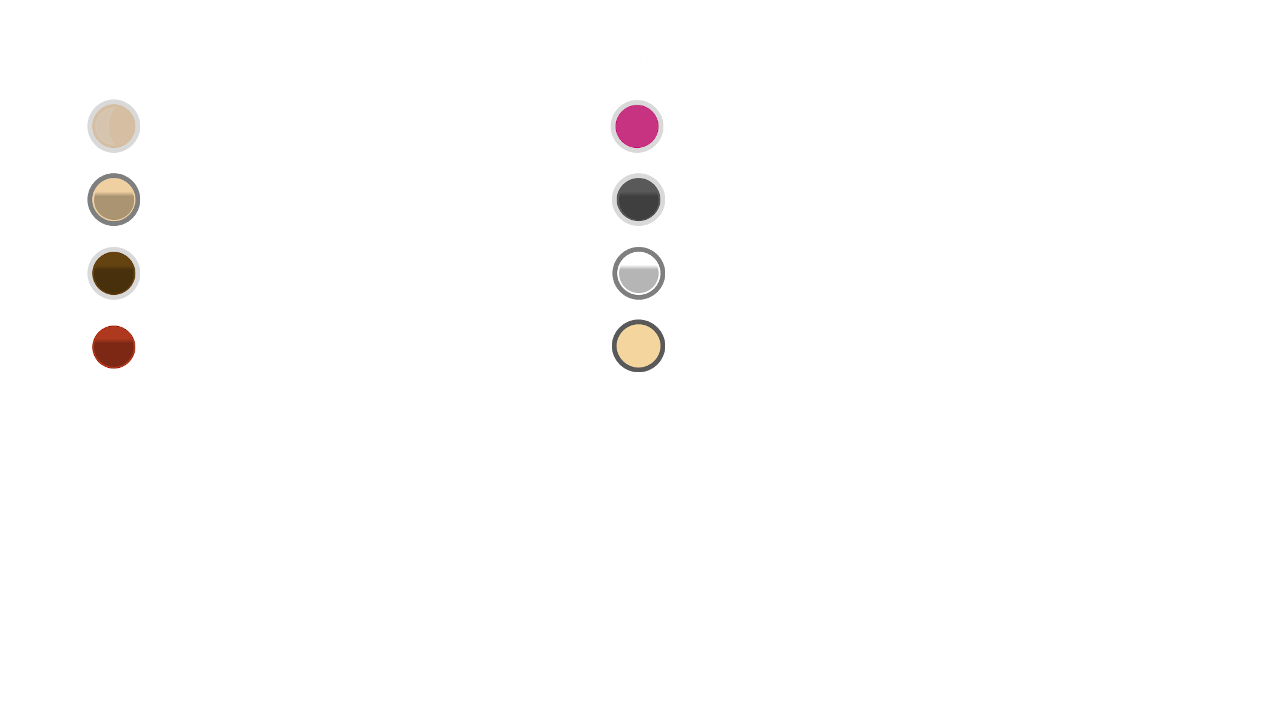

Here are the colours that I used. You don’t need to use all of them, this was after all, a bit of an experiment. Even so, If you would like to build your own Clanrats economically, pick one colour for the clothes, one for armour and one for the wooden aspects. Or not as the case may be.
Even so, the method I use is quite quick and straightforward. Cadian Fleshtone for the skin, and Gorthor Brown, Skavenblight Dinge or White Scar diluted to a wash coat almost for the fur.
You can tone the armour using different metallics in conjunction with each other if you prefer.
This army was finished off by basing them with Stirland Battlemire. Messy stuff, but works well.
I started off by basecoating the models using a couple of thin coats of Zandri Dust, perfect for setting up flesh tones, not just on Skaven models, but also any model with humanoid skin tones. You can use the Zandri Dust spray on paint to basecoat them, but for personal reasons, I favour the pot and a brush.
Next, a coat of Agrax Earthshade to flesh out all the details. Keep the pot of Agrax handy, as you’ll need it again later on. On top of that, apply a thin coat of Cadian Fleshtone on all the exposed skin, such as the face, arms, legs and tail.
Now for the fur…for this build, I used three different layer paints – White Scar, Skavenblight Dinge and Gorthor Brown, all watered down to create an almost transparent wash. Avoiding the areas around the nose where whiskers should be, as well as the hands. Thighs and tail bases could also require some of the same treatment.
With regards to the armour and weaponry, I went to town on the metallics to produce both layers and bases, and in some cases where I’d like a brass effect, I use a base coat followed by a layer coat.
Ironbreaker, Gehenna’s Gold, Auric Armour Gold, Bathazar Gold, Retributor Armour and Leadbelcher. Some are layer paints, others bases. Some work well together, especially if you’re trying to produce realistic brass effects. Apart from the swords and weapons, look out for shield edges, helmet details, hidden knives and chain mail.
For the mouth, apply a quick dab of Screamer Pink inside to highlight it, and use Khorne Red on the eyes, applied with a fine detailed brush – very carefully.
For clothing, I have used Khorne Red, Abaddon Black (which creates a nice leather effect), Mournfang Brown, Skavenblight Dinge and Zandri Dust to give them an almost feudal medieval feel. Other colours you could use for cloths are Eshin Grey, Nagarroth Night and Caliban Green – they are very versatile, and a large number of colours clothwise will work well on them.
As for the wooden elements, I have used Rhinox Hide and Dryad Bark for the poles of the spears and the shields. You could use a lighter brown colour, such as Gorthor Brown or Skrag Brown on the wood, so that when it’s shaded the grain shows up more distinctly; however, the soft and light woods do not make decent shields in reality – so using what could be perceived as a light wood like Zamesi Desert would like nice, just wouldn’t work in reality I suspect. You could even paint different browns onto the shields to give the view that it’s composed of different woods, working with the grain pattern on the plastic.
Having done a bit of mopping up on little errors, I then added another shade of Agrax Earthshade, watered down 1:1. If you want your Clanrats to look a bit grubbier, like they just crawled out from the Under Empire, use the Agrax undiluted all over the model. Pure Agrax will bring down the colour quite a bit, so be warned.
Last but by no means least, the teeth and any bandages have been topped off with Screaming Skull.
To complete the paintwork, I decided to base the Clanrats using Stirland Battlemire. This is a technical paint that has a rather granular texture, needs to be watered down a little for it to work really well, and this can be used to built up the bases with little piles of earth. It takes a while to dry, but the result is worth it. Get hold of a detailing brush to poke small amounts into the delicate areas around the feet and parts touching the base, then use a bigger brush to build it up. For best results, mix it on a paint palette or jampot lid with a bit of water until it becomes a little splodgy.